I love family. I love learning. I love food. This is simply a collection of thoughts, memories, and recipes that are a piece of me!
Showing posts with label Holidays and Parties. Show all posts

Friday, July 5, 2013

Happy 4th of Jully! (I know...I did it on purpose)

I love holidays, pretty much in general.  I love having a reason to decorate pretty and celebrate anything, but our family has never really made much of the 4th of July.  It's not that we don't love that day- we do, but the last 6 years, we have been so overwhelmed with babies and birthday parties the few days before that fireworks were really nothing to get excited about.  Most years, we have watched the shows all around us while swimming in my mom's pool.  It was fun, but now that my babies are starting to get older, I wanted to start making more of Independence Day, especially since the kids can get involved and help out!  (You'll never guess who made my sign!)

I spent the 3rd of July driving around Tulsa.

It.  Was.  Awful.

My parents offered to keep my kids, but I opted to bring Eva along.  I have no idea what I was thinking.  She fusses a lot in the car.  I drove all over town looking for a game (that I never found) and bandannas, which thanks to Pinterest, I almost never found.  It was dreadful, but I finally gave up, and with a crying baby on my hip, after dinner time, I fell into my parent's doorway, exhausted.

My mom and I got right to putting everything together.  My dad smoked a turkey, and we had cakes and cookies all ready to go.  After hours of work, our decor was perfect, our menu was set, and we were ready to fall on our faces.

The next morning, still feeling trampled from the night before, we got up, dressed in our best red, white, and blue, and made that long mile long drive to Grandma and Grandpa's house.

We started our festivities with some delicious lunch.  We ditched our plans of a big picnic (which ultimately, would've given me better pictures...) in order to not have to carry everything outside.  Though I'm lamenting the loss of my photos, I'm happy we gained that time to just chat and laugh.
The more I look at these pictures, the more I giggle.  They are perfect examples of each of their little personalities.

Isaiah is sweet, with such a sunny disposition.

Izzy is quirky and original.  I never know what this one is going to think up.

And Eva...oh Eva.  She seems to be a funny middle ground between the older two.  I can't wait to see what she's like as she grows!

After lunch, we headed to the local fireworks stand to pick up a few things.  I've found I really prefer to do this the day of.  It made for a really fun little outing for just Bird and I with our kids, and we didn't have to worry about storing these things.

We didn't go big this year.  With a pretty measly fireworks budget, we opted to keep it simple, and I'm so glad we did.  The kids really enjoyed what we got, and I didn't feel bad about the cost.  Win-win!

We got back to the grandparent's house, bag of goodies in hand, and decided it was the perfect time to swim.  We got all ready and headed out to the pool.

Eva had never gotten in, so we thought it would be a fun first.  She loved it.

I think.

Honestly, I wasn't sure the whole time I held her.  She just screamed.  Not angry.  Not happy.  Just screaming.  And splashing.  And a few giggles.

Isaiah is an old pro at this now.  I can't believe his little feet can actually touch the bottom in places. (eek!)  He's my water baby.

And yes, he's holding onto a watermelon.  That's how we chilled it.  It was cold in that water!

Izzy can finally swim on her own this year, but she's still a bit apprehensive.  She's somewhat of a wall flower in the pool, and pretty content to sit on the ladder.

Unless Aunt Kara is throwing her into the air.

And this is what happens when Daddy tries to take a picture of his girls.

It's the best organized chaos.

After swimming came games.  Then dinner.  Then more games.

Eventually it was dark, but in kid-time, it took forever for that to happen.
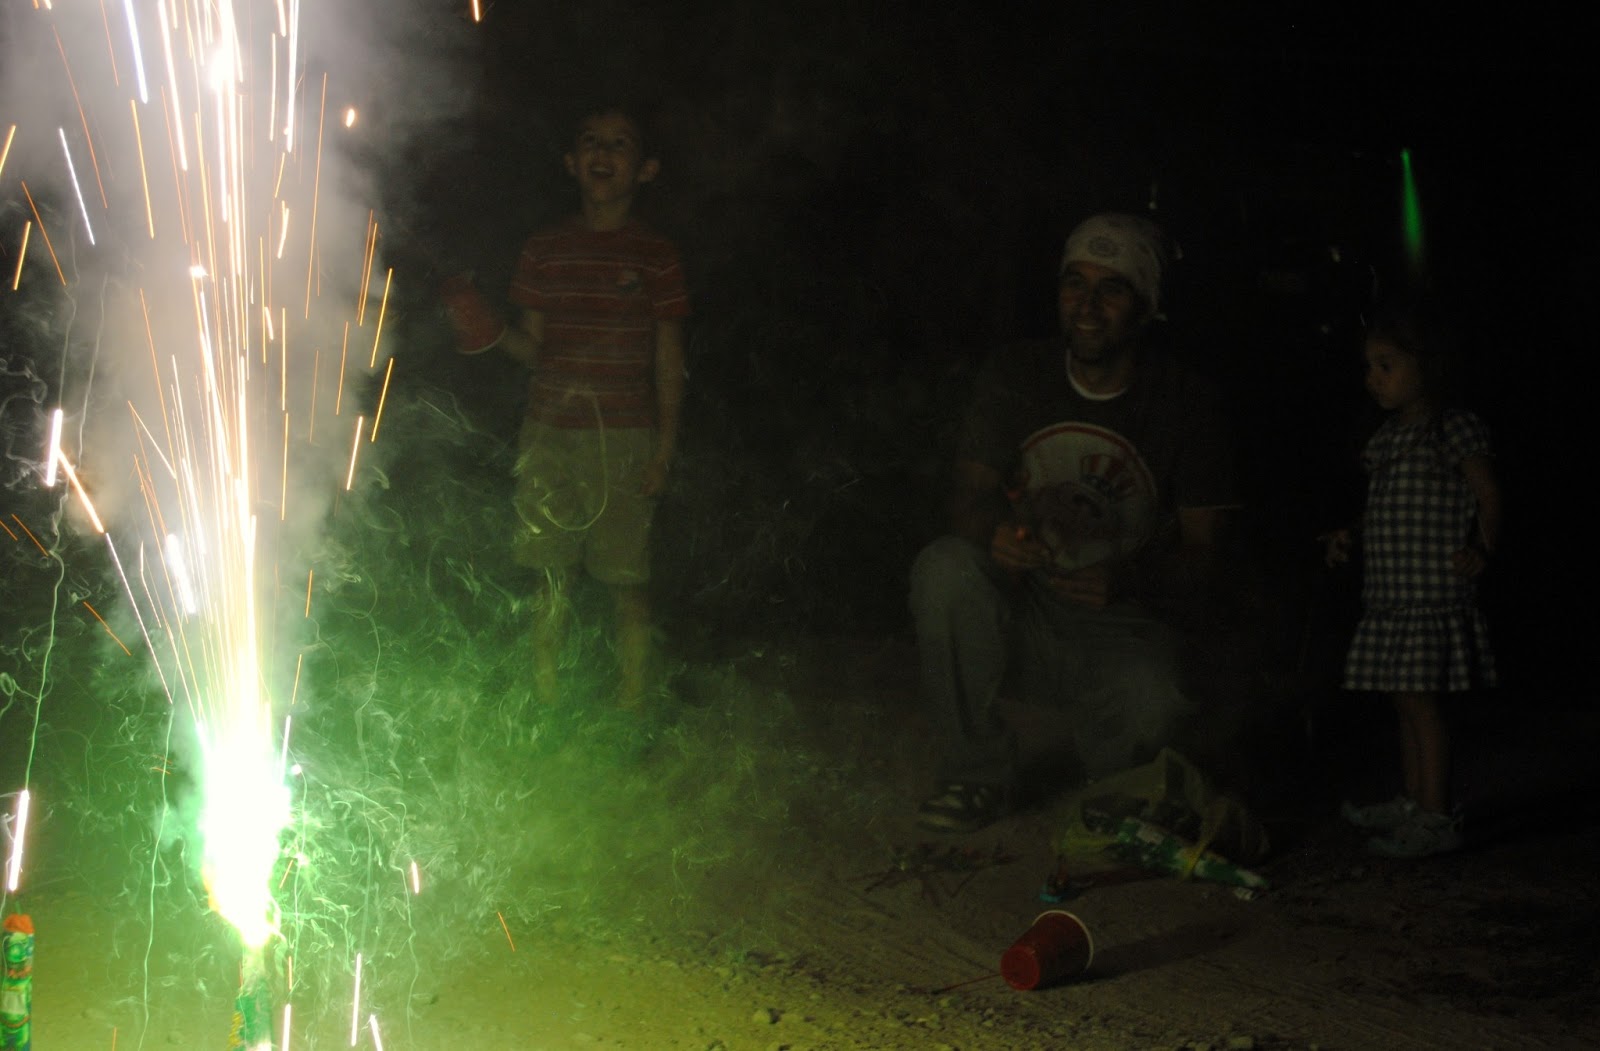
When the light was gone, we busted out the sparklers and fountains from our earlier visit downtown.

Oh the pops and lights and squeals of delight!

The kids weren't huge fans of holding the sparklers, but they did love watching Daddy running around with them!

After the last fountain was out, we laid out on the grass with pillows and blankets and a cozy fire pit to make some s'mores, and with a makeshift screen attached to the side of the house, the cold July (crazy, right?) night air surrounded us.  We fired up the projector we borrowed from our church to watch...what else?  Independence Day!

We will not go quietly into the night....but thankfully, the kids did.  Izzy cuddled with us as Isaiah drifted off to sleep to the movie sounds.

It was a long, long day.

Almost as long as this blog post.

In the end, all the work of driving and decorating and cooking was totally worth it.  This was certainly an Independence Day for our record books!

Sunday, June 30, 2013

A Mario Party

My baby boy turned 6 last week, and he asked for a Mario party.  I cringed a little, honestly.
In general, I'm not a big fan of cartoon themed parties. I like something more subtle, more classic, so when he said "Mario," I immediately shrunk inside.  How could I possibly do that and it look good?  My sister and I spent hours and hours figuring everything out, and I was really happy with how it turned out. More importantly, my little boy was ecstatic!  I wanted to share some of the ideas I used to create a perfectly classic Mario party.

I knew I wanted to do it at lunch, so to provide something the kids would eat, we went Italian.  Because, you know, Mario and Luigi are Italian New Yorkers.
(I can't believe I know that.) Pizza, pasta, and bread sticks were easy enough.  We went to Papa Murphy's the day before and brought home some take and bake pizzas, and I cooked them and pasta that morning.  We opted for fruit salad instead of a garden salad since it was for kids.  I added a brick paper background I got from a teacher supply store, and I made a "Luigi's Pizzeria" sign (which I don't have a picture of...oops!).  Super simple, and the kids ate it up!

For decor, I made everything except the Mario toys that were sprinkled about the room.  Those were borrowed from Aunt Kara.

For the question mark blocks, I covered tissue boxes with yellow construction paper.
 I carefully drew up the question mark and traced and cut it out of white paper.  I glued it on and finished it with black dots I used a hole punch to make.  My son was super impressed with these, and in all, they only cost me a little over $1 each!

For another focal wall, my mom blew up a ton of balloons.
 Since the original Mario game was 8-bit, everything was very pixelated.  That actually made my life much easier.  I used the balloons to make a sky background like in the game.  In all, there were 66 balloons: 16 white and 50 light blue.  This actually was no where near as difficult as I expected it to be!

I covered the table in a light yellow table cloth and used some inexpensive red and white polka dot cloth from the fabric store for a runner.


I carried the pixel idea over into some fun artwork to adorn the walls.  I used a paper cutter (You could use scissors, but God bless your hand if you do.)
to cut construction paper into squares.  I didn't count how many I did, but I do know that in just the heads of Mario and Luigi, there are 58 pieces of paper each.  I pieced them together to look like the 8 bit characters.

I will admit that this project took me some time...like to the tune of hours.

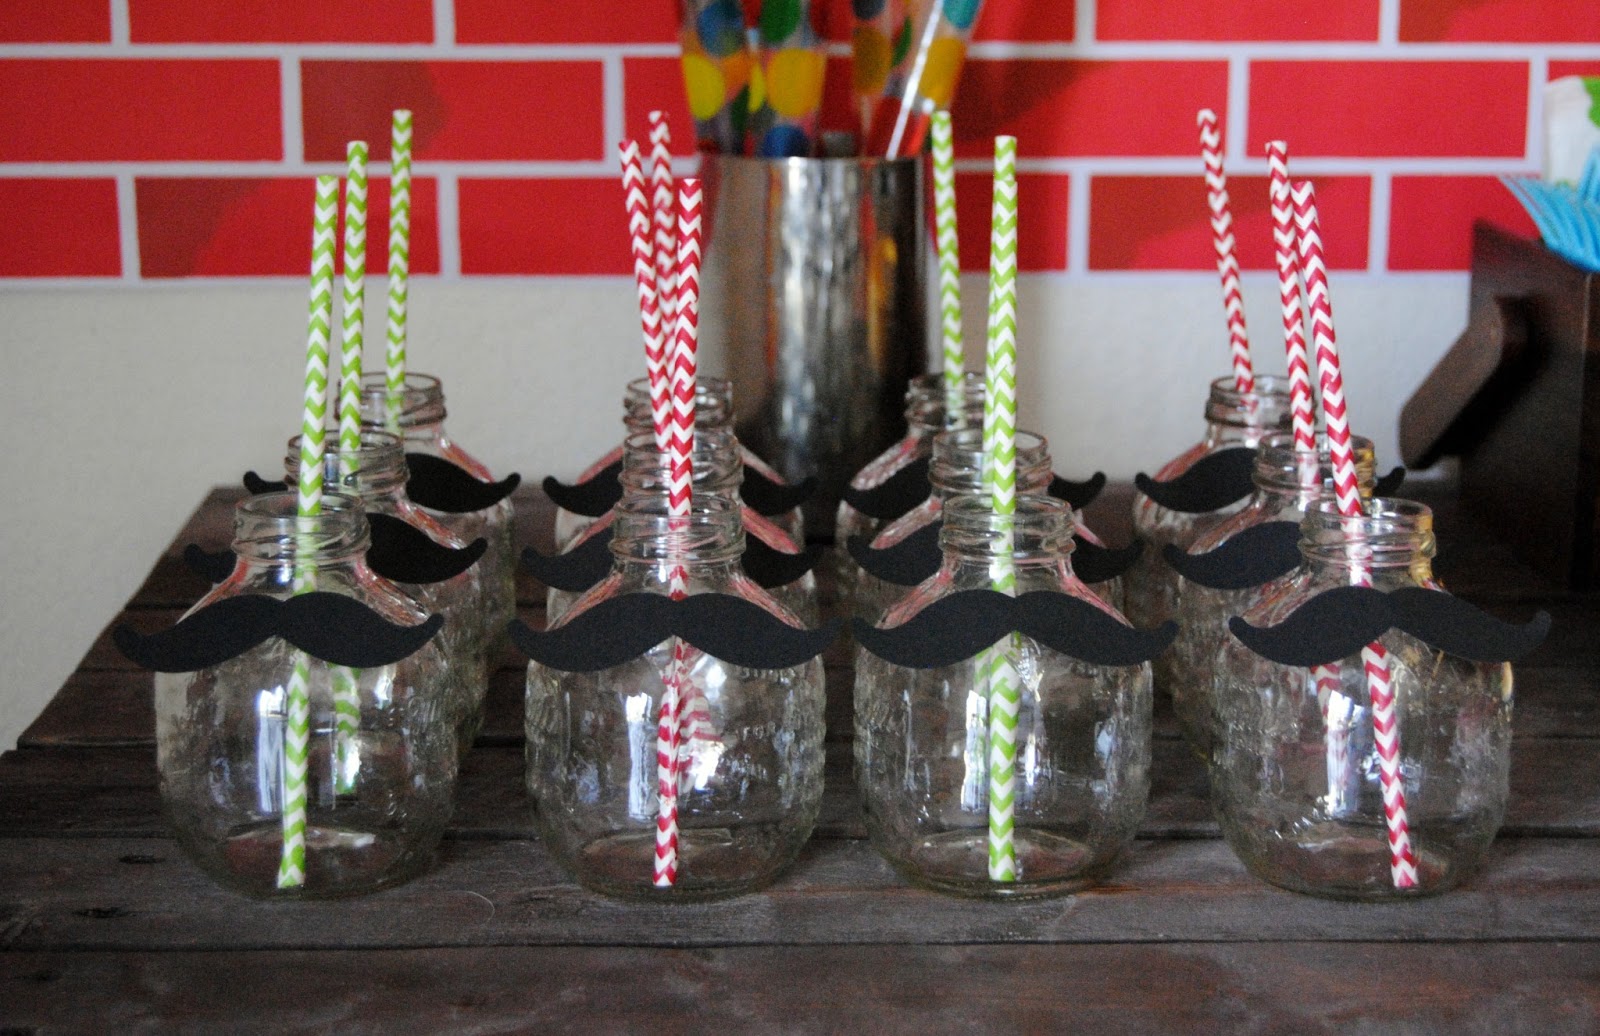
I'm always a big fan of special drinks, and I totally copied these bottles off of a friend of mine.
These are apple juice bottles, and I picked them up at Walmart in the juice aisle.  Once the juice is gone, wash the bottles and reuse them for parties!  They are wonderful!  I just cut out some mustaches to hot glue on and added red and green paper straws.

I made a pennant banner for the tables from simple craft paper and red and white baker's twine. I just made sure to use colors found in the game.

These guys were a blast to make.  That wasn't sarcastic.  They were awesome to see come together.  My husband spray painted some PVC pipe green to match the game, and he cut dowel rods of different lengths that I painted green.  I painted some Styrofoam balls red and added white paper polka dots and a "mouth."  I simply used tissue paper and grocery bags to get them to stand up, and Voila! Mario piranha plants!

The stars, mushrooms, and question mark blocks here are little tins with candy inside from Toys R Us, and the Mario and Luigi visors are from the craft store.

For the cupcakes, I knew I wanted something really subtle.  There was so much going on that a big extravagant cake wasn't going to go well.  I opted for some store bought cupcakes.  I asked if they could use a rounded tip to ice green and red icing.  I then just used candy melts for polka dots.  Isaiah was such a fan of these mushroom cupcakes!  (As an added bonus, the candy melts were birthday cake flavor, and they were amazingly delicious!)

We played lots of games (including an awesome "boss fight" where my husband was Bowser, shooting the kids with silly string, and they had to fight him with red and blue water balloons for ice and fire power!  So much fun!) but my favorite activity took the creative gene my husband has.  He drew up a grid to create sort of a color-by-number of Mario and Luigi that the kids used M&Ms to fill in.

Added bonus, the jars of M&Ms were a perfect party favor!  Just give yourself plenty of time to seperate these colors and count them out so you have the perfect amount in each jar.

If you'd like to download this paper to print and do at home, click here!

We added in a few gifts and his best friends and family, and my little boy loved it all!  Everyone was certainly all smiles at this classic Mario party!

Tuesday, February 12, 2013

Valentine's Day Hair

I have had so many people ask me about Izzy's hairstyles, specifically the ones with the ribbons, that I thought it was high time I added a little tutorial on here.  These are so much fun, and she is so very good at sitting still so she can be my little doll.  (Having a cartoon on or a snack for her to eat while I'm working doesn't hurt either!) We love this one, and it's perfect for Valentine's Day!

This one takes us about 10 to 15 minutes from start to finish, but that includes time to brush out the thousand tangles this little girl acquires in a 24 hour period.

Here's what you'll need:
A brush and/or comb with a rat tail
2 clips
3 hair elastics (we use the tiny ones you can get from Dollar Tree in a pack of 100)
a few bobby pins that match the hair color
a craft needle
ribbon

Start with tangle-free hair, and make a parting from ear to ear, right below the crown.

Put the top part into a little ponytail being careful to make sure the top is smooth.

Split the ponytail in two, and clip off one side so it stays out of your way.

Now you're going to braid each half, but (and this is important for the end product to look clean) you're going to braid up. Hold the hair straight up and braid...it's no harder than a normal braid, but it will make the top of the heart the front of the braid.

When you're done braiding, clip the ends to hold them.  Don't worry about securing each braid with a ponytail holder.

Once both braids are completed, form your heart, one side at a time.

Once it's where you want it, pin it down! I use tiny little bobby pins I picked up from Sally's for Izzy's hair for two reasons.  1, they hide easier, and 2, her hair color is so much darker than mine that if I used my regular pins, they are super obvious.

Once pinned down, carefully pull the bottom of the braids together and band them together.

Remove the clips, and you have a heart!

If you don't want to do the ribbon part, you can stop here and it's still super cute!

To add the ribbon, thread your CRAFT needle (important note here that I think should go without saying, but just in case...don't use a regular needle.  These plastic ones can be found at any craft store, and they are dull at the end.  They will not poke your child's head like a normal needle would.  Be safe, please!)

Poke the needle going upwards through the elastic holding the top of the braids.  Pull the ribbon through until the middle it inside that elastic.

Now simple thread the ribbon in and out along the outside of the braids.

When you're done "sewing," add another elastic to hold the ribbons down.

I like to add a little bow at the bottom just to finish the look.

We hope you guys LOVE this look and give it a shot this Valentine's Day!!

Friday, December 14, 2012

It's Beginning To Smell A Lot Like Christmas- Pumpkin Bread

Do you feel that?  There's a nip in the air.  Our house is decorated with lights and trees and glitter.  Rudolph and Frosty and Charlie Brown are all over the television, and warnings of shooting our eyes out can be heard over and over.  At this time of year, nothing seems to fill my Christmas food cravings better than a yummy, warm, spiced bread, and pumpkin bread will forever top my list of "things I'm willing to go up a size for."  Recently, I introduced this beloved recipe to my two oldest kids, and much to my dismay, they loved it...no more full loaves just for Mommy.  Bummer.  If you're in the mood for your house to smell like what Christmas should always always smell like (plus you get a yummy treat to go with that great smelling home) make this bread.  If you don't like it, bring it to me and I'll hide it from my kids and eat it alone in my closet while I let out my pants.

This recipe makes 3 loaves of bread or 3 dozen muffins.  I like to split the difference and make 2 loaves and a dozen muffins for the kids.


What you'll need:
3 cups of sugar
2/3 cup of Crisco
4 eggs
2/3 cup of water
1 can of pumpkin
3 1/2 cups of flour
1/2 tsp of baking powder
2 tsp of baking soda
2 tsp of cinnamon
1 tsp of cloves
1 tsp of nutmeg
1 cup of chopped nuts (I use pecans)

Now, before I get started on the actual recipe itself, I want to mention two things about the ingredients. First, you'll notice there is cinnamon, nutmeg, and cloves.  Yes.  All three all necessary.   They each add something important to the recipe, so you don't want to skip any of these.

Second, you may notice in my ingredient picture, I don't have a carton of eggs.  That's because in my breads and cakes, I prefer to use powdered eggs.  I wouldn't recommend them for an omelet, but for baking, powdered eggs tend to make the end product much more moist and delicious.  Of course, you can always use eggs you crack, too. 


Now on to the actual recipe...


Start by creaming your Crisco and sugar in a mixer until it's fluffy.

Add eggs and pumpkin and mix it really well.

In a separate bowl, combine all your dry ingredients.  This is important.  Without this step, the dry ingredients won't properly incorporate into your wet ones, and it could be really bad.

Before you add the dry to the wet, chop your nuts up to have them ready to fold in.

Now, a spoonful at a time, add the dry to the wet and mix it up until it's just incorporated.  This is technically bread, but I love the cakey texture it has when the gluten isn't well developed.

My kids aren't fans of the pecans, so I made a dozen muffins that were nut free.

Fold in the pecans (or walnuts...I bet that would be awesome) and split the batter into loaf pans. 

Bake the muffins for about 25 minutes at 350, or until golden brown and a toothpick comes out clean.  Bake the loaves for about an hour.
Here's hoping you have some sweet little beauties that will enjoy these with you this holiday season, too!